Classic kit
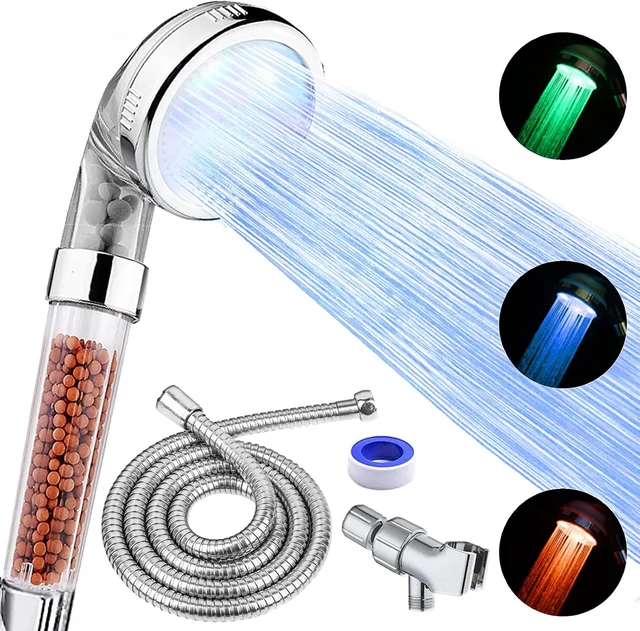
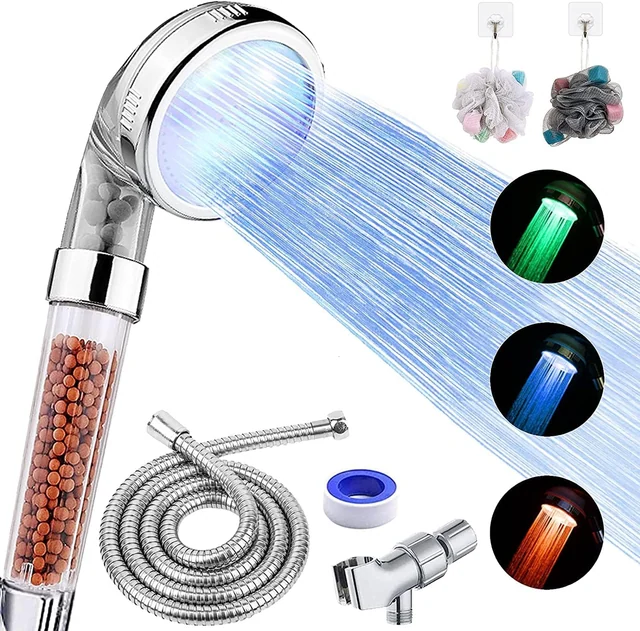
LED filtered handheld shower head
- Shower head with bead filter handle
- 59 in stainless hose
- Adjustable holder
- PTFE thread tape
- 2 adhesive hooks
- 2 shower sponges
Installation
You need the shower arm you already have, a dry cloth and the thread tape. No wrench, no plumber.
Turn the old head or hose off the shower arm by hand and wipe the thread clean.
Wind thread tape clockwise around the arm thread, three or four turns, pulled snug.
Screw the holder onto the arm by hand, then connect the hose to the holder and to the handle.
Turn the water on and watch the joints. A drip usually means one more turn of tape.
Most drips come from one of three places, and none of them needs a tool. Start at the joint that is wet and work from there.
Hand tight is enough everywhere. A wrench can crack the plastic nuts, and a cracked nut drips for good.
Everything but the shower arm is in the box.
LED filtered handheld shower head
LED filtered handheld shower head